Categories
Features

Pineapple Buns

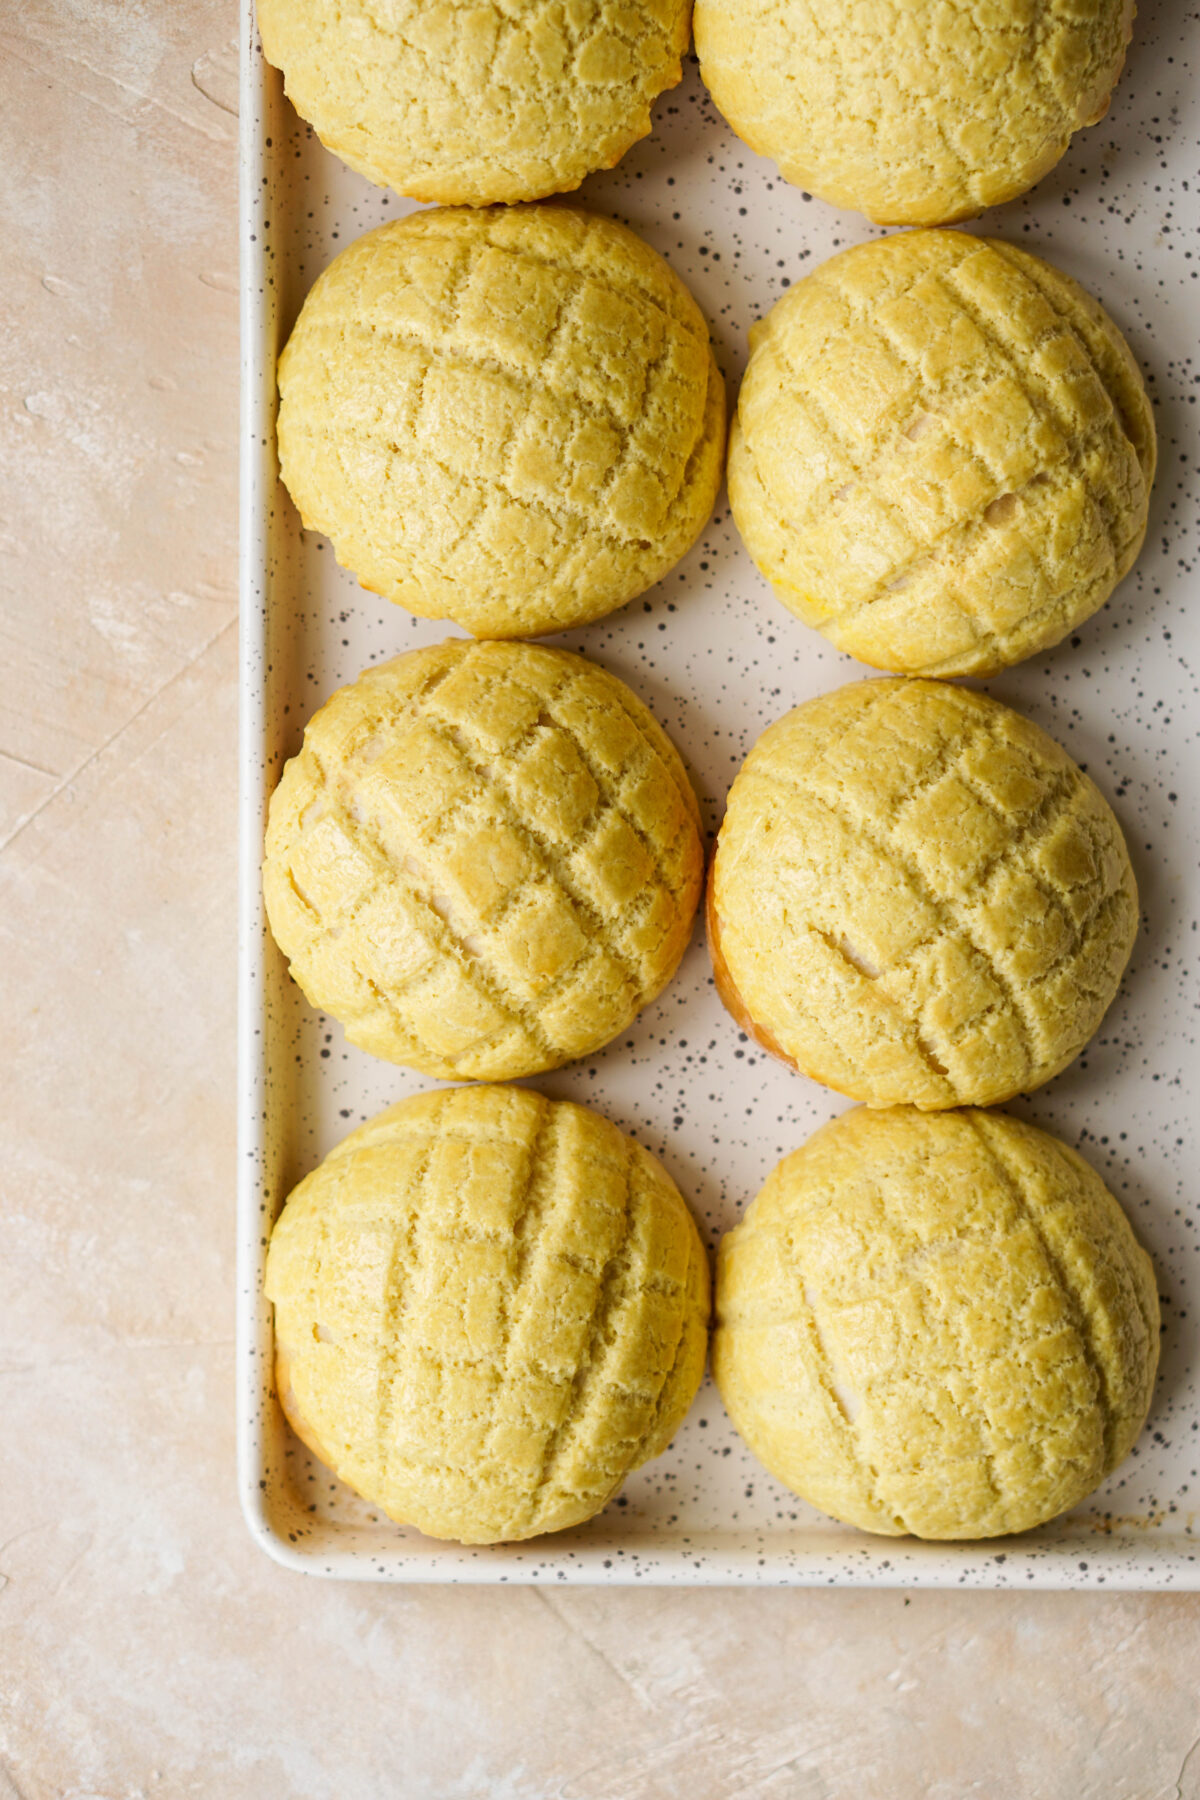
Every Chinese bakery must have a pineapple bun in their case. Despite the name, the bun has no pineapple—it’s a soft milk-bread bun with a sweet, buttery, crackly cookie-like top that, after it’s baked, resembles pineapple skin. The simple, iconic treat has a loyal following, even beyond Asian cultures: everyone loves a good pineapple bun. When I was younger, I’d slyly pick off the cookie topping and leave the plain bun behind for my brother. (When you’re the older sister, you can get away with things like that.)

Few things transcend enjoying a fresh pineapple bun still warm from the oven. You can eat it plain, or if you want to be like a true Hong Konger, slice the bun in half and stick a thick slice of cold butter inside.

Makes 12

For the Buns

Mother of All Milk Bread Dough (see below), made through step 4

All-Purpose flour, for dusting the work surface

For the Topping

250g (2 cups) all-purpose flour

¼ teaspoon baking soda

¼ teaspoon coarse salt

113g (½ cup; 1 stick) unsalted butter, softened

100 g (½ cup) sugar

1 large egg

½ teaspoon pure vanilla extract

2 drops yellow food coloring

For the Egg Wash

1 large egg, white and yolk separated into two small bowls

While the dough is proofing, line two large rimmed baking sheets with parchment paper.

Make the buns: After the first proof, punch down to deflate the dough and transfer it to a lightly floured surface. Pinch and pull the ends of the dough to form a smooth ball. Divide the dough into 12 equal portions with a bench scraper (for accuracy, weigh with a digital scale if you have one). Form each portion of dough into a smooth ball by pulling the ends of the dough underneath and then rolling between the palms of your hand, and arrange on the prepared sheets, spacing at least 3 inches apart. Cover with a damp, clean kitchen towel and set aside in a warm spot until the buns are doubled in size, 45 minutes to 1 hour.

Meanwhile, make the topping: In a small bowl, whisk together flour, baking powder, and salt. In a medium bowl, combine the softened butter and sugar with a flexible spatula until smooth. Add the egg, vanilla, and food coloring, mixing until smooth. Fold the flour mixture into the butter mixture to form a sandy dough, then knead by hand until smooth. Pat into a disc and divide the dough into 12 equal portions with a bench scraper (for accuracy, weigh with a digital scale if you have one). Roll one piece into a smooth ball, then flatten into a 4-inch round with a dowel rolling pin. Score a crosshatch pattern into the dough with the edge of a bench scraper or knife, being careful not to cut all the way through. Use the edge of the bench scraper to lift the topping off the work surface. Repeat with remaining topping dough, setting each round aside until ready to top the buns. (Alternatively, you can skip making the crosshatch pattern. The topping will still crack beautifully as it bakes, just not as neatly.)

Preheat the oven to 350°F. Brush the tops of the buns lightly with the egg white to help the topping adhere. Place one topping dough round on each bun, gently pressing to cover the entire outer edge (you want the dough to fully encase the top of the bun, if possible). Whisk the egg yolk in a small bowl and lightly brush over the topping of each bun.

Bake the buns until golden brown, 18 to 20 minutes. Transfer the sheets to a wire rack. Let the buns cool for 5 minutes on sheets, then transfer to the rack to cool. Serve warm or at room temperature.

Buns can be kept in an airtight container (a resealable bag works great) at room temperature for up to 4 days, or in the freezer for up to 3 months. Reheat room temperature buns in the microwave for 15 to 20 seconds or on a baking sheet in a 300°F oven for about 5 minutes, until soft and warmed through. Reheat frozen buns on a baking sheet in a 350°F oven for 10 to 15 minutes.

Milk Bread

For the Tangzhong:

100g (¼ cup plus 3 tablespoons) milk

20g (2 tablespoons) bread flour

For the Milk Bread:

125g (½ cup plus 1 tablespoon) warm (110°F) milk

1 teaspoon active dry yeast

50g (¼ cup) granulated sugar, plus a pinch

335g (2 ⅔ cups) bread flour, plus more for work surface

1/2 teaspoon coarse salt 1 large egg

55g (4 tablespoons) unsalted butter, cut into pieces and softened

1 teaspoon canola or other neutral-flavored oil, for bowl

Make the tangzhong: In a small saucepan over low heat, combine the flour and milk and cook, whisking constantly, until thickened to a paste, 2 to 3 minutes. Immediately transfer the paste into a small bowl, scraping the sides of the saucepan with a flexible spatula; let cool until warm, 5 to 10 minutes. Texture should resemble mashed potatoes.

Make the milk bread: In a clean or new small saucepan, scald the milk over medium heat, bringing the milk to a gentle simmer (watch carefully as milk tends to boil over). Pour milk into a small bowl and cool until warm to the touch (about 110°F). Stir in yeast and a pinch of sugar, and set aside until the surface of the mixture is foamy, 5 to 10 minutes.

In the bowl of an electric mixer fitted with a dough hook, combine the sugar, flour, salt, and egg. Add the tangzhong and milk and mix on low until shaggy. Add the softened butter one piece at a time, mixing until fully incorporated before adding the next. Increase the speed to medium-high and continue to knead the dough until it is tacky and slightly sticky, 8 to 9 minutes. Transfer the dough to a lightly floured work surface. Wet your hands to prevent the dough from sticking, pinch and pull the ends of the dough to form a smooth ball.

Coat a large mixing bowl with 1 teaspoon of oil. Add the dough to the bowl, gently turning it to cover with oil. Cover the bowl with plastic wrap and set in a warm spot to proof until doubled in size, about 2 hours (or place in the refrigerator to proof for at least 8 hours or overnight).

Categories
Food Recipes

The ‘Poison Apple’

Men used to eat tomatoes in public to demonstrate their courage and might, and the ladies would faint upon witnessing such shocking scenes.

Scenes like these don’t originate from a Hollywood comedy—they actually happened in the United States back in the 18th century.

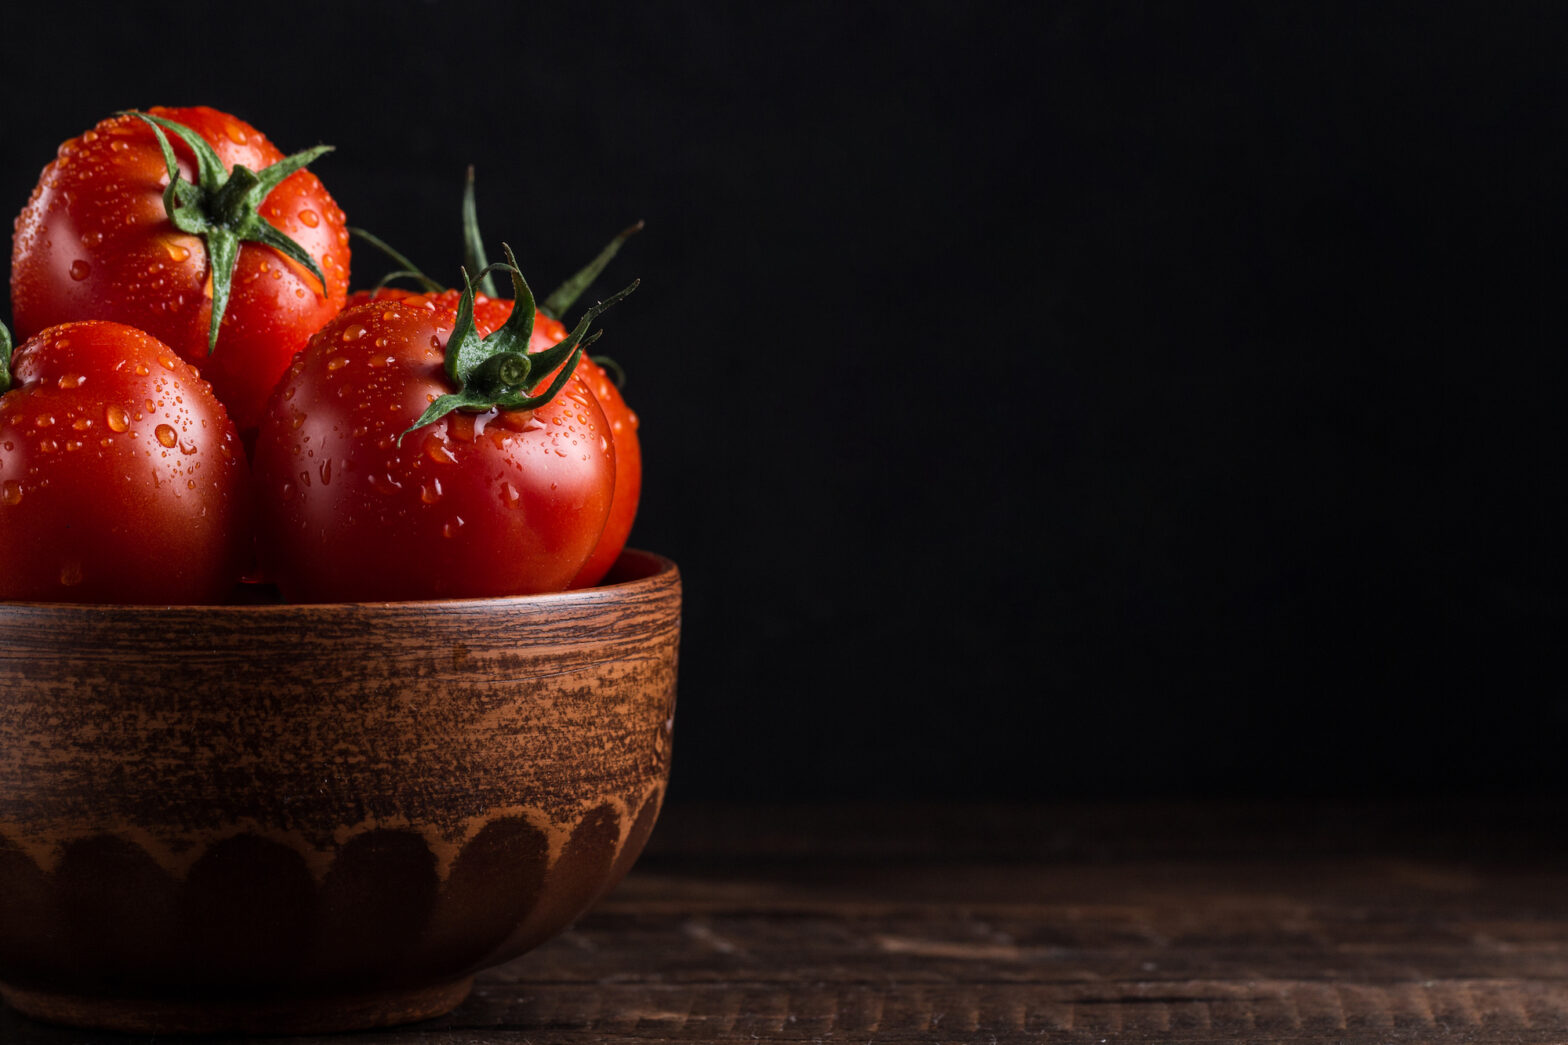
Today, tomatoes are widely known as an anti-aging superfood. They contain potassium and Vitamin C and are high in lycopene, which some studies show can reduce the risk of cancer and heart disease.

What many do not know is that once upon a time, tomatoes were grown in gardens as ornamental plants. They were fearfully nicknamed “poison apples” and were considered poisonous in North America for nearly 200 years.

If we tomato lovers could thank someone for dispelling the misconception, it would be one of our Founding Fathers, Thomas Jefferson. He was not only a politician; he was also known as a horticulturist, paleontologist, and foodie. When he served as the minister to France (1785–1789), he accumulated an enormous collection of European recipes and brought them back to America. Apparently, his taste in food has greatly influenced American food culture.

We don’t know for sure whether Jefferson brought the tomato seeds back home from Europe, but there is a record of him planting tomatoes in his backyard. Legend has it that Jefferson ate a tomato in front of his houseguests and, afterward, served delicious tomato dishes to them. There is no doubt that if the internet had existed back in the 18th century, “are tomatoes really edible?” and “did Thomas Jefferson die after eating a tomato?” would have been among the top searches.

In 1820, a man named Robert Johnson staged a “tomato trial” on the steps of a New Jersey courthouse. He ate a full basket of tomatoes—and he did not die.

In time, tomatoes became a popular fruit to consume. First Lady Jackie Kennedy had a favorite tomato soup recipe, which her staff compiled and distributed to anyone who wrote to the White House asking for her favorite recipes. Try your hand at this simple yet refreshing version of tomato soup.

Mrs. John F. Kennedy’s Iced Tomato Soup

Serves: 6

Ingredients

  • 6 large, ripe tomatoes, coarsely chopped
  • 1 onion, chopped
  • ¼ cup water
  • ½ teaspoon salt
  • A dash of pepper
  • 2 tablespoons tomato paste
  • 2 tablespoons flour
  • 2 cubes chicken bouillon, dissolved in 2 cups boiling water
  • 1 cup heavy cream

Directions

  1. Combine tomatoes, onion, water, salt, and pepper in a saucepan.
  2. Cook over moderate heat for 5 minutes.
  3. Combine tomato paste with flour and add to tomatoes with chicken bouillon.
  4. Simmer gently for 3 minutes.
  5. Pass the mixture through a fine sieve.
  6. Chill several hours.
  7. Before serving, add cream.
  8. Season with salt to taste if necessary. Garnish each serving with a thin tomato slice if desired.

Recipe from the John F. Kennedy Presidential Library and Museum.

Categories
Food Recipes

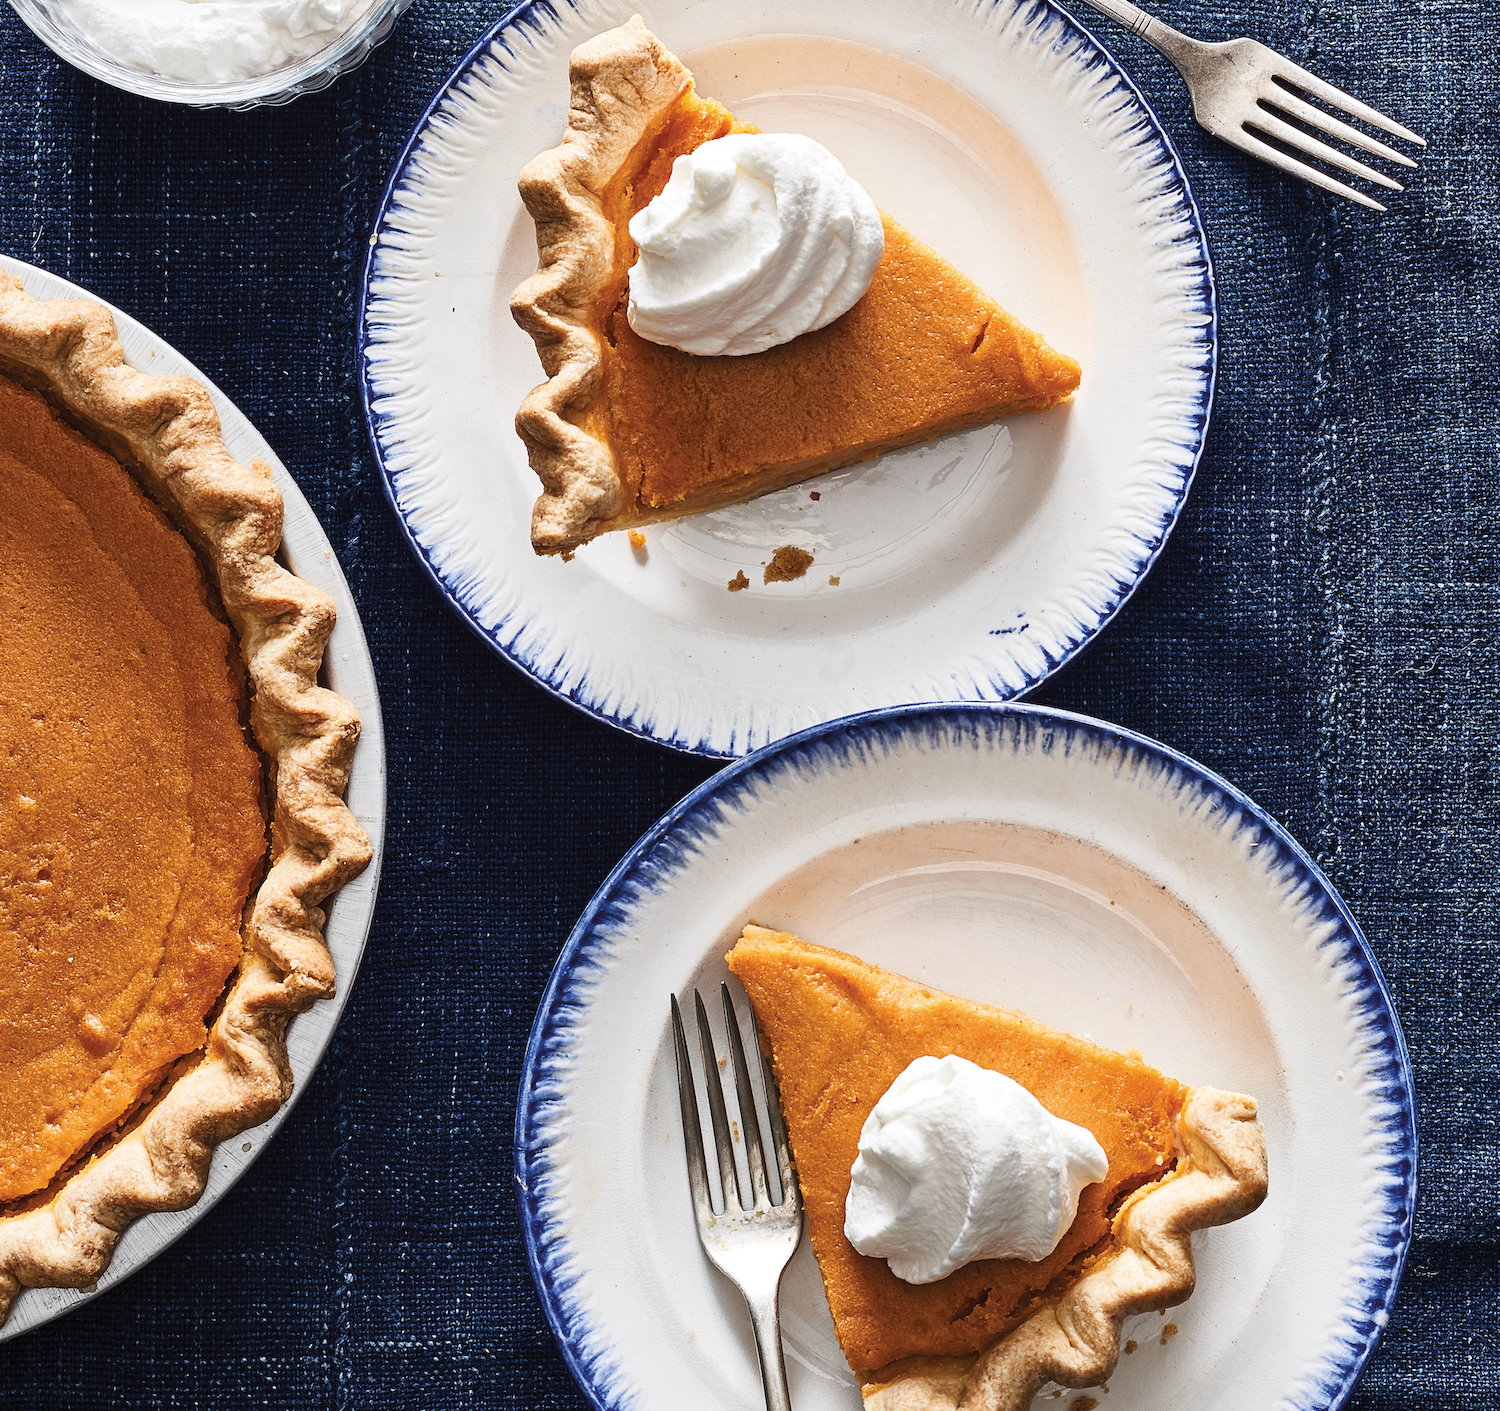
Ken Haedrich’s Recipe for North Carolina Sweet Potato Pie

My adoptive North Carolina ranks first in the nation in the production of sweet potatoes: more than 60,000 acres of them, about half of the total US production. In light of that, I came up with this recipe as a tribute to the farmers and their lovely sweet potatoes. Sweet potatoes have a wonderfully dense flesh and deep color that are in their full glory in this tasty pie.

Makes 8–10 servings

Old-Fashioned Shortening Pie Dough (see below) or another single-crust dough

Filling

3 medium-large sweet potatoes

3 large eggs plus 1  large egg yolk, at room temperature

⅔ cup packed light brown sugar

⅓ cup granulated sugar

4 tablespoons unsalted butter, melted

½c up heavy cream

½ cup half-and-half

¾ teaspoon vanilla extract

1 tablespoon all-­purpose flour

½ teaspoon ground cinnamon

½ teaspoon ground nutmeg

¼ teaspoon ground cloves

½ teaspoon salt

whipped cream (optional)

1. Prepare and refrigerate the pie dough. Roll the dough into a  12 1/2- to 13-inch circle and line a 9- to 9 1/2-inch deep-dish pie pan with it, shaping the edge into an upstanding ridge. Flute or crimp the edge, chill the shell, and partially prebake it according to the instructions on page 000.

2. Preheat the oven to 400°F (200°C). Scrub the potatoes and place them on a baking sheet. Pierce them several times with a paring knife. Bake for 60 to 75  minutes, until they feel tender all the way through when pierced with a paring knife. Cut the potatoes open to help them cool faster. 

3. When the potatoes have cooled, scoop the flesh into a food processor. Process to a smooth purée. Measure out 11/2 cups purée. (Save any extra purée for another use.)

4. Preheat the oven to 375°F (190°C). Whisk the eggs and egg yolk in a large bowl until frothy. Add the potato purée, sugars, melted butter, heavy cream, half-and-half, and vanilla. Using a handheld electric mixer, beat on medium-low speed until evenly blended. Mix the flour, cinnamon, nutmeg, cloves, and salt in a small bowl. Sprinkle over the liquid and blend it in on low speed.

5. Put the pie shell on a baking sheet, near the oven, and carefully pour the filling into the shell. Bake the pie, on the sheet, on the middle oven rack for 20 minutes. Reduce the heat to 350°F (180°C) and rotate the pie 180 degrees. Bake for 30 to 40 minutes longer, until the filling is set. When the pie is done, the filling will be wobbly and puff slightly around the edges.

6. Transfer the pie to a rack. Serve slightly warm, at room temperature, or chilled, garnished with whipped cream, if desired.

Boil or Bake?

In my sweet potato pie trials, I both boiled and baked the potatoes and found that I preferred the baked results. Baking takes longer, but it concentrates the flavor without adding excess moisture to the pie. 

You get a creamier, fuller-bodied pie when the moisture comes from the cream and eggs. If you like, you can accelerate the pie-making process by baking the sweet potatoes the day before, perhaps when you have something else in the oven. Refrigerate them after they have cooled. 

And by the way, since you’re baking sweet potatoes anyway, why not bake a couple of extras and use them to thicken soups or stews, or in muffins and quick breads. Or serve them as a simple side dish, mixed with butter and a drizzle of maple syrup.

Old-Fashioned Shortening Pie Dough

This is a pretty standard all-shortening piecrust, like the one my dad used when I was a youngster. A shortening piecrust won’t have the delicate flavor of a butter crust, and the texture is typically more crumbly, less flaky. Still, this yields a delicious, tender crust that many bakers believe makes the best pies.

One 9- to 91/2-inch standard or deep-dish pie shell

1½ cups all-purpose flour

1 tablespoon confectioners’ sugar (optional for a sweet pie; omit for a savory pie)

½ teaspoon salt

½ cup cold vegetable shortening

¼–⅓ cup cold water

1. Combine the flour, sugar (if using), and salt in a large bowl; refrigerate for 15 minutes.

2. Add the shortening to the dry ingredients and toss it with your hands to coat, then break it up into smaller pieces. Using a pastry blender, cut the shortening into the dry ingredients until the pieces of fat are roughly the size of small peas and everything looks like it has been touched by the fat. There should be no dry, floury areas.

3. Mound the ingredients in the center of the bowl. Drizzle about half of the water down the sides of the bowl, turning the bowl as you pour so the water doesn’t end up in one spot. Using a large fork, lightly mix the dough, tossing it from the perimeter toward the center of the bowl. Drizzle most of the remaining water here and there over the dough and toss again.

4. Mix the dough vigorously now. The dough should start to gather in large clumps, but if it is dry in places, stir in the rest of the water.

5. Turn the dough out onto a lightly floured work surface and pack it into a ball, then knead it several times to smooth it out. Put the dough on a sheet of plastic wrap and flatten it into a 3/4-inch-thick disk. Wrap the disk and refrigerate for about 1 hour before rolling.

Double-Crust Version

The softness of the shortening makes this an easy recipe to double. Simply double all of the ingredients and proceed as above. Divide the dough in two when it comes out of the bowl, making one part slightly larger than the other if you’re using it for a  top and bottom crust.

Excerpted from “Pie Academy” copyright by Ken Haedrich, photography by Emulsion Studio, used with permission from Storey Publishing.