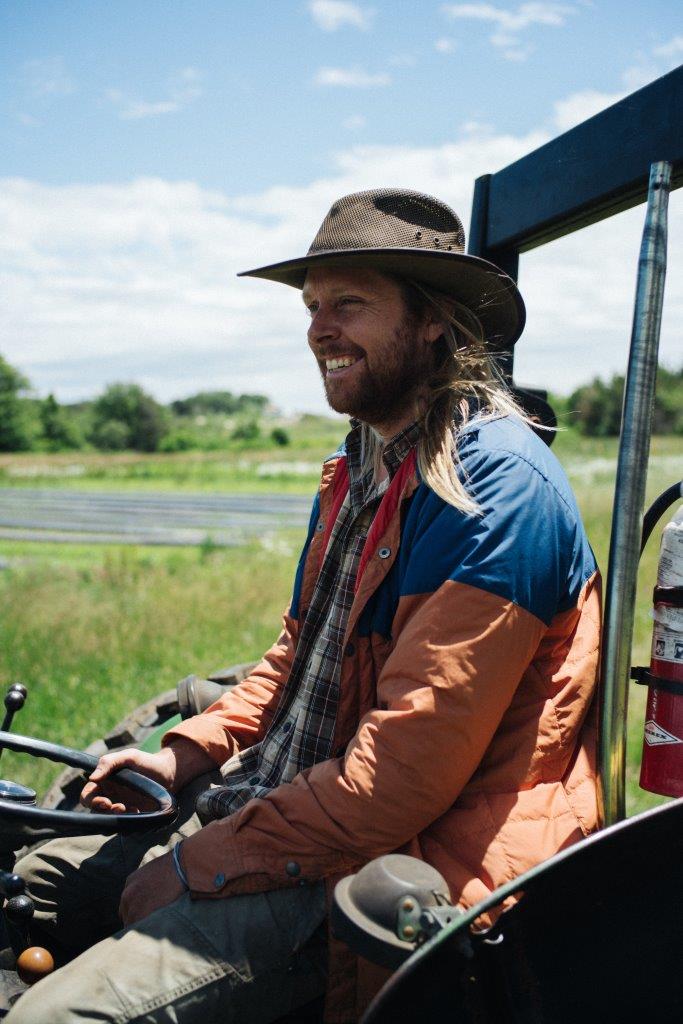
Five-time James Beard Foundation Award finalist Steve McHugh is nothing short of an acclaimed chef. The owner of the highly respected, game-changing restaurant Cured and the restaurant Landrace, which opened last year, says he really “stumbled right into” becoming a chef.
Though McHugh’s introduction to food may have been a happy accident, over the course of his studies and career as a chef, his curiosity and sense of excellence have produced inspiring results. In a way, his story has been about coming full circle and getting at the root of food and sustenance—and American cuisine.
“I’m not the star of this show,” said McHugh.
‘If You Want to Go Learn About Food’
New Orleans is where McHugh first made a name for himself. Right out of culinary school, a friend had told him, “If you want to go learn about food, you need to go where the true indigenous food of the U.S. is.”
“And that’s New Orleans,” said McHugh. There, he worked in the kitchens of the Brennan Family Restaurants, the Creole chefs Stanley Jackson and Chris Brown, and the John Besh Restaurant Group. Besh, a celebrity chef and philanthropist well known for his efforts in preserving New Orleans heritage cuisine, became a mentor of McHugh’s. In those kitchens, McHugh learned that it wasn’t just about Cajun and Creole—the city was truly a melting pot of cultures and cuisines influencing each other, coming together to make up the flavor of New Orleans.

And then Hurricane Katrina hit.
“Up until that moment, we had run from storms and we dealt with floods—but that one, that was scary,” McHugh said. He remembers watching the satellite images, seeing a storm the width of the Gulf of Mexico approaching his city. He and his wife had evacuated and were sitting in a crummy motel in Tennessee, just waiting. When it became evident that they couldn’t go back right away, McHugh went to his parents’ home in Wisconsin.
McHugh grew up with six brothers, three adopted, on a dairy farm in Wisconsin. His dad was a schoolteacher. His mom was a nurse, then an OB-GYN.
“They just had a lot of love to give, my parents. They’re just amazing, amazing people with so much love to give. My mom especially was one of those people who just gave, and gave, and gave of herself,” said McHugh. “My dad was the same way—it was all about taking care of people.”
Living in their small Wisconsin town of some 1,200 people, McHugh never thought he would become a chef. In high school, he got a job washing dishes and fell in love with the energy of the kitchen. That fondness led to many other kitchen jobs, but he didn’t think of them as part of a career path.
“When I was growing up in kitchens, what we call the chef was just some tattooed-up guy who rode his motorcycle in, and he was in charge,” McHugh said. He actually went to school majoring in music, with a saxophone scholarship, but then ended up back at home.
“It was my dad who finally sat me down and said, ‘Why don’t you go to culinary school?’” McHugh said. The conversation was eye-opening. “I’m still thankful for that sit-down with my dad, every single day, because it’s truly a blessing to continue to be in kitchens and restaurants and working with great people.” His dad also had a slightly selfish motivation for the talk, however: “I was back living at home,” McHugh quipped, “so part of it was, ‘How long do you think you’re gonna live here at home with your parents?’”

“I think he really wanted me to find my way.” And McHugh soon did, delving into The New York Times’ Wednesday food inserts and doing his own research. “I was just looking at recipes and interviews, and reading about different chefs throughout New York City, and was just blown away by what was really possible.”
Although he was back at home again after the storm, when McHugh got the call from Besh asking him to come back to New Orleans less than a month later, he was ready. “New Orleans had become my home, and you hate to see your home take a one-two punch like that,” said McHugh. “You want to be a part of helping her get up off the ground and get going again.”
Sustenance
Besh was reopening Restaurant August, and McHugh’s response was, “Yeah, let’s go.”
It would be under entirely different circumstances—here was a restaurant that was known for using prized ingredients, and now there wasn’t an abalone or truffle in sight.
As McHugh tells it, “John said, ‘Let’s just cook what we have. let’s just cook what we can get our hands on, and we’ll make up the menu.’” As a young chef, McHugh relished opportunities to work with some of the finest ingredients. “Now, you’re so excited when a farmer brings by 12 chickens, or you get your hands on some red beans and you’re able to cook a pot of beans,” he said. “These were things we never cooked in that restaurant before; and now, all of a sudden they’re the most important things we’ve ever cooked in our lives because our customers needed it.”
Yet McHugh felt it was sustainable in myriad ways: “It’s sustaining your soul, and cooking for people who needed a lift up. We used to cook for the city’s elite, now we’re just cooking for our own survival and for the people we were cooking for.”
At the same time, they were “putting in 17, 18, 19-hour days like it was nothing. We weren’t tired. I would get up in the morning and go to work and I wouldn’t get home till the wee hours of the next day—and do it again. It never felt like work. It stopped feeling like work during that process,” he said.
“It really changed my whole perspective on food and cooking, on being a chef, and what it’s really all about,” said McHugh. “It’s such an eye-opening experience to really put so much love into a pot of beans, or a pasta, or a really good bread pudding.”
It brought to mind his mother, who was always taking care of people, helping any and all who showed up—whether or not they could give anything in return. “I never understood that until I became that person who was just taking care of folks,” he said. That labor of love became an indelible lesson for McHugh.
“Now, I cook what I can get my hands on. I want to work with local providers, local producers, and also be right with the earth and not cook species of fish that are overfished—and not working with producers who are destroying the land,” he said. “It’s important to me to continue to take the lessons learned during Hurricane Katrina forward and continue that path.”
The next chapter of his life would be in San Antonio, Texas, where McHugh moved in 2010 to open Besh’s first restaurant outside Louisiana, Lüke. But it wouldn’t begin without a challenge.
Cured
Not long before McHugh’s move, he woke up with a swollen face. “It almost looked like I was in a prize fight the night before,” said McHugh. He’d been tired, lethargic, and couldn’t understand why he was feeling that way. His doctor thought it was a cold, and other doctors and specialists he saw were baffled. Finally, someone told McHugh he looked like he had allergies, and he went to see an allergist.
McHugh remembered, “The allergist looked at me and said, ‘Whoever sent you here is crazy.’” Allergies didn’t happen overnight or cause reactions like McHugh was experiencing. After a CT scan, the cause of McHugh’s ailments became obvious.
“There it was: I had a tumor in my chest about the size of a baseball,” he said. He had blood cancer, B-cell lymphoma—but the swelling was fortunate because, otherwise, he might not have found the cancer until he got much sicker.
In New Orleans, McHugh began his chemotherapy treatments. After two sessions, he confided in his doctor: “Hey, I’m supposed to be moving in a month. Should I not? Should I stay here?”
“And I remember him saying, ‘Nobody’s told you to stop living your life,’” said McHugh. The takeaway was powerful. He felt then that he could beat the cancer—and he did.
“I just went at it like ‘this isn’t going to slow me down.’ I moved to San Antonio, my wife and I came here, I opened a restaurant while going through treatment,” he said. “The power of positive thinking and believing, and understanding that you’ve got more to accomplish in life, really pushes you through.”
In the aftermath, having already opened several restaurants for others, McHugh opened his own restaurant, Cured, in 2013. While the name in part signifies his triumph over cancer, Cured is also one of the most popular charcuterie restaurants in the country, famed for its whole-animal approach in cooking. Every part of each butchered animal is used, so the menu is ever-changing based on what’s in stock.

“Ten, eleven years ago when I got sick, I didn’t think that food could play such a huge role in health, and the more I study and the more I learn about food and food systems, it makes me want to continue to be a better chef and provide better ingredients and better products,” he said.
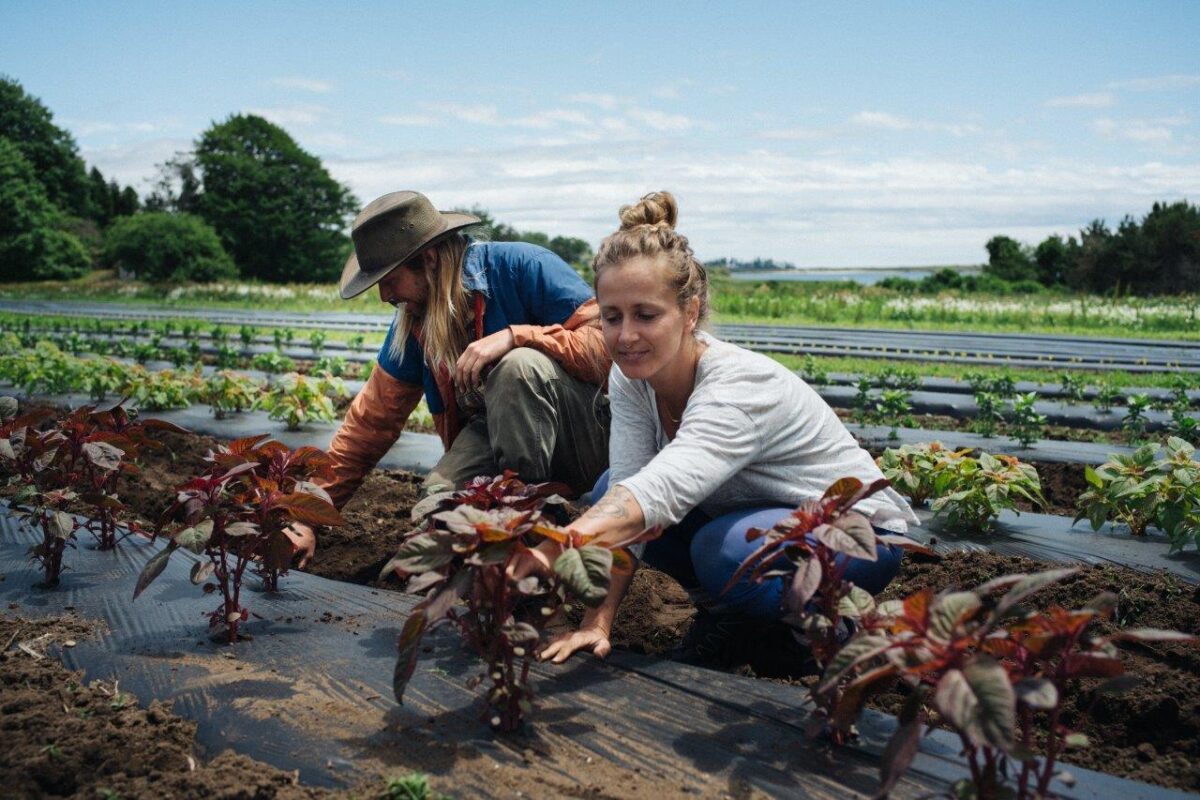
“I don’t want to consume, and I don’t want my customers to consume, any animal that’s been penned up its whole life, that’s been shot full of hormones, or sustained solely on one thing,” he said. McHugh visits the places where the animals are raised and the produce is grown. “Being around farmers my whole life—you know what to look for.”
For instance, he said that the steak at Cured is great not just because of the way it’s prepared, but also because of where it comes from: “[Peeler’s] ranching practices are amazing. They do great field rotation, so the cattle aren’t just stuck in one field all the time. They also will rotate sheep and goats through the fields as well, and the importance of that is that goats are great at really cleaning up just about anything unhealthy; they have stomachs that are amazing and they can get in there and eat a lot of the grasses that are harmful to the cattle.” This also clears out parasites, making for healthier fields and cows.
When visiting a hog ranch, he found 1,000 acres where pigs were running freely. McHugh said of the farmer: “He refuses to ring their noses, because pigs want to root.” Many farmers put rings in pigs’ noses so they won’t tear up the earth, but the pigs on this farm: “They go in there eating bugs, they’re eating mesquite beans, they’re rooting for those tender shoots under the ground that they love to chew on and snack on. He lets them give birth out in the fields where they want to be—and the babies are healthier, the mamas aren’t rolling over on them. There are a lot of species of hog in our country that we have bred the mothering nature out of—because the [sows] don’t know how to be mothers anymore.”
“For me, it’s important to see that they’re healthy, they’re happy,” said McHugh.
“If we’re constantly eating unhealthy animals, we are going to become unhealthy, right? I want to be able to offer really good meat—and as somebody who butchers and has been a butcher a lot of his career, I tell people: eat less meat, eat better meat,” he said. “Let’s eat less, but let’s eat better.”
Seeing the ranchers and farmers in their craft grew McHugh’s knowledge, as well as his interest in using local sources. At a James Beard Foundation dinner with chef Kevin Nashan, McHugh heard him use the word “landrace,” and he quickly made a note of it on his phone.

“Landrace is the idea that something is better because of place, and is growing within its natural surroundings,” said McHugh. “It isn’t just something that is native to the area, but it can also be something that has thrived in the area.” Case in point: Texas cattle.
After that, he developed an idea for a restaurant that focused on native ingredients and celebrated the Texas terroir. In 2021, McHugh opened Landrace. “Thanks, Kevin Nashan.”
Determined that the new restaurant wouldn’t be Cured 2.0, McHugh went back to the three pillars of what he believes makes a successful restaurant: good food, good service, and great ambiance.
“I kept thinking: What are we going to do here? What’s going to be the star of the show here? And, we brought in this big, beautiful wood-burning grill that is completely fueled by Texas post oak and mesquite,” he said. “It’s really about taking cooking back to its most elemental, right? Cooking started with fire.”
“It was stepping outside of my comfort zone and working with solid fuel like wood. And it really challenged me to think of food on that level. Can I grill a salad? Can I grill these carrots—not just turn them into smoke bombs—being gentle with something that can be very in-your-face like wood and smoke?” he said. “It was a lot of fun.”
At this point in his career, it’s not uncommon to be asked about the next big thing. Young chefs are certainly thinking that way, too, and McHugh has some advice for them: “Don’t try to come up too fast. Travel, learn—and when I say travel, I’m not saying go to Paris, I’m saying we’re an hour from Austin—there’s no reason to not go and have a nice meal and come home.”
This article was originally published in American Essence magazine.


